Race or just riding for fun?
Cleaning your mountain bike will help ensure that it runs smoothly and looks great while you have lots of fun during your ride.
Ready to get started? Let’s go! To begin mountain bike cleaning, gather the appropriate supplies; a clean bucket or container, a brush, degreaser, a cloth or sponge, and protective gloves are key items for mountain bike cleaning. With these items on-hand, mountain bikers can follow this guide to start cleaning.
Before that, we give you a quick summary of how you can clean your bike before going forward with an in-depth cleaning of your mountain bike.
Quick Summary
- Unbolt the rear wheel and other components from the mountain bike frame.
- Remove all dirt and dust from your mountain bike with a brush or cloth.
- Apply a mild soap solution to the mountain bike frame and components.
- Scrub with a soft bristle brush to remove any stubborn dirt or grime.
- Rinse off all soap and dirt with water.
- Dry the mountain bike frame and components completely.
- Re-oil the mountain bike chain, bearings, and other moving parts, using a degreaser product.
- Apply Mountain bike lube to all moving parts, including the chain and brakes.
- Clean Mountain bike tires and rims with a cloth or brush.
- Re-inflate Mountain bike tires to the recommended pressure level.
- Wipe down the mountain bike frame and components with a clean, dry cloth.
- Once everything is satisfactorily cleaned and dried, you are ready to ride.
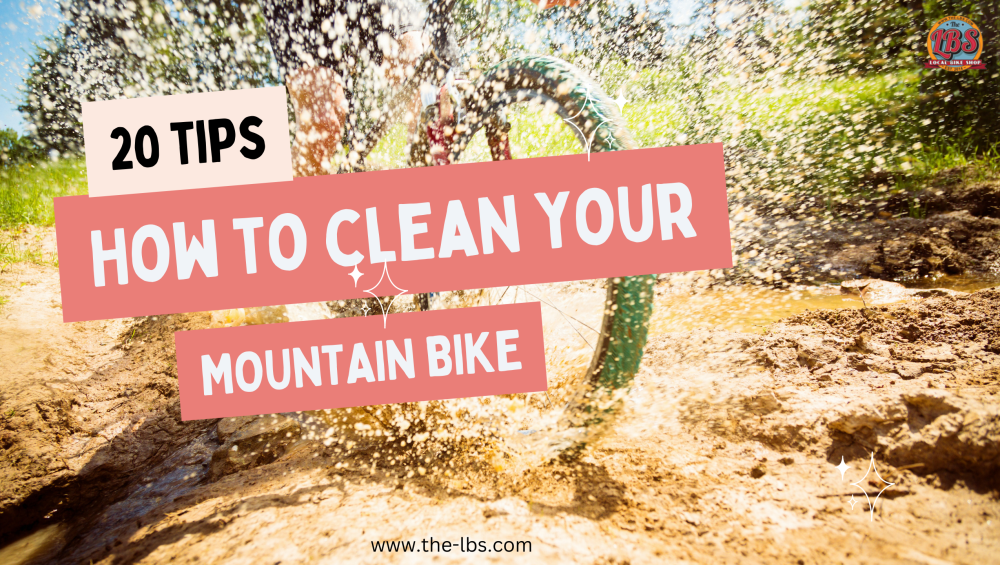
So here are the quick 20 easy steps that will make your mountain bike look new in no time.
Top 20 steps to clean your mountain bike
Collect Every Necessary Supplies: Before cleaning, gather every item you need on hand, such as a bucket filled with warm water and mild detergent, an old toothbrush, a sponge or rag, a soft-bristled brush for scrubbing harder-to-reach areas and chain lube.
Remove the Chain: Remove the chain from the chainring by loosening the quick-release lever or unscrewing the bolt at the rear of the derailleur. Use an old toothbrush or rag to clean any excess dirt around the chainring teeth and crank arms.
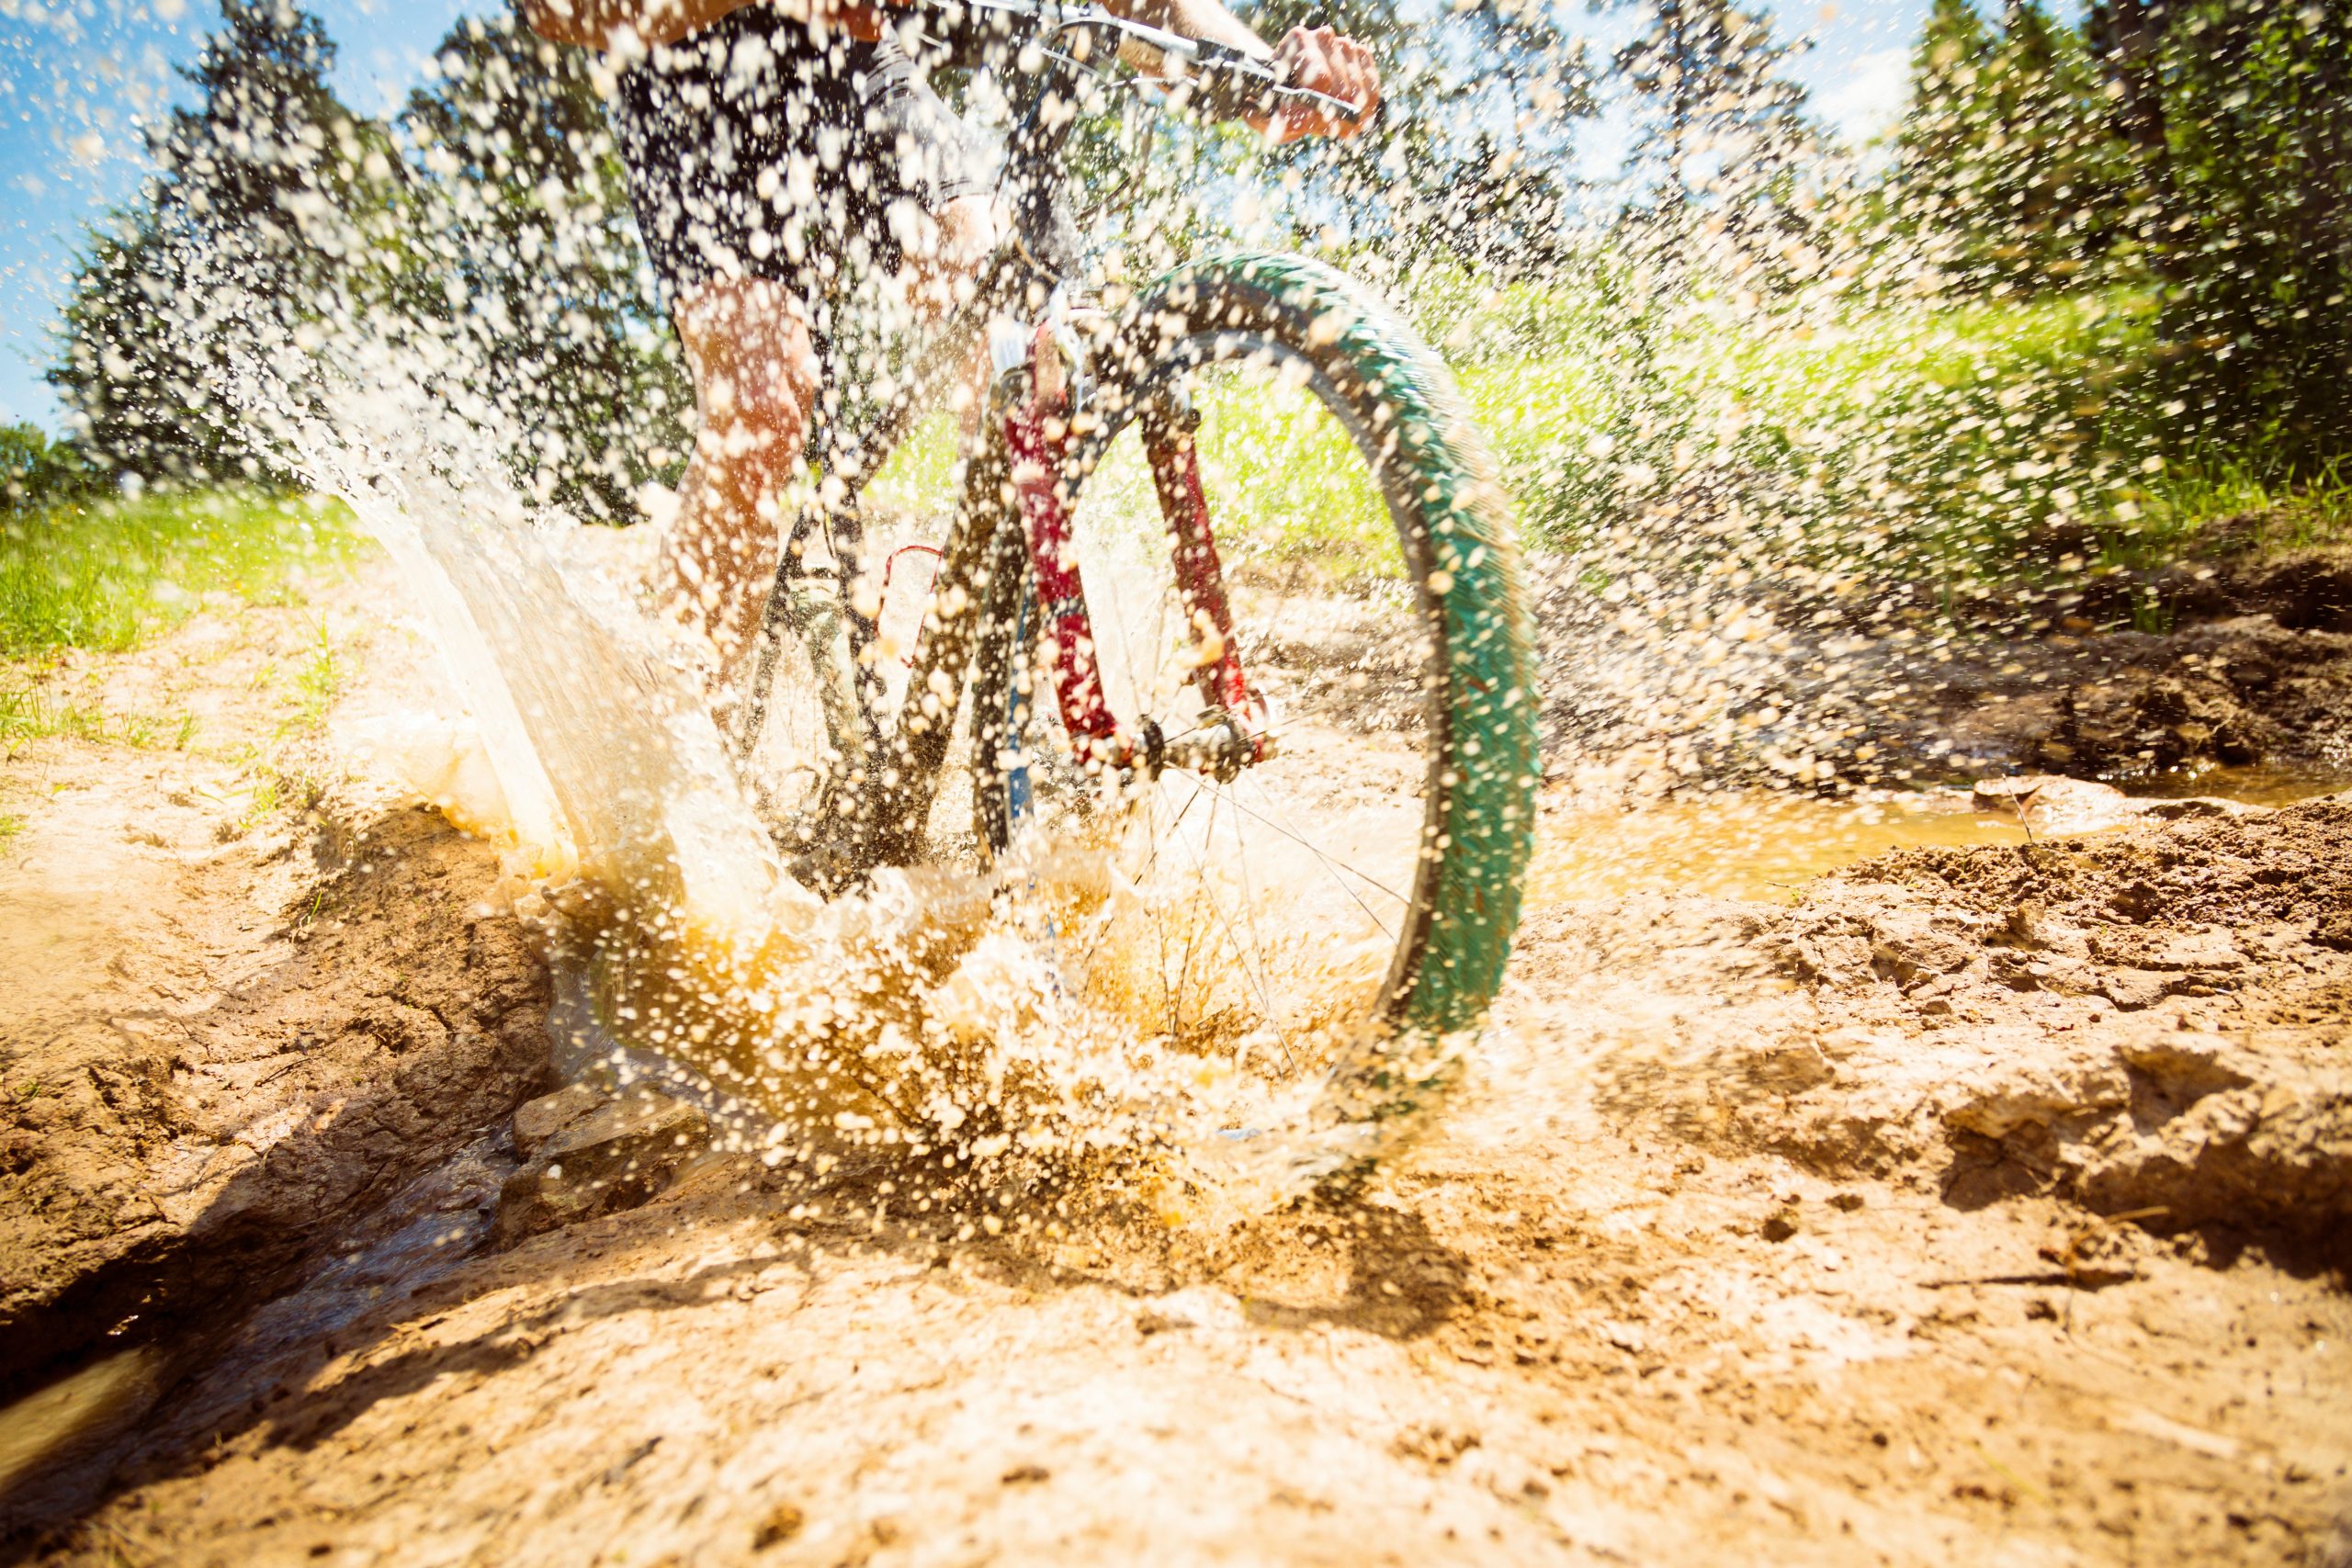
Rinse Off Dirt: Fill a bucket with warm water and mild detergent and use a sponge or rag to wipe off any dirt on the frame of your mountain bike. Under your handlebars or behind your seat post, rinse any dust that has settled in hard-to-reach places.
Wash Frame & Components: After rinsing off dirt, use a soft brush to scrub away tougher grime from around components such as brakes and shifters using circular motions. Make sure to get into all nooks and crannies so no dirt gets left behind.
Rinse Again: Thoroughly rinse your mountain bike frame with warm soapy water to remove any remaining residue from cleaning products used earlier in this process.
Dry Frame & Components: Use old towels or rags to gently wipe down each component of your bike – frameset, forks, wheelsets, etc. – until they are completely dry before moving on to lubricating their next step.
Scrub and Soak: Use the sponge or rag to wipe down the mountain bike frame, especially in grimy areas. Then use the toothbrush to clean those hard-to-reach places and remove any stuck-on dirt. If necessary, you can submerge parts in soapy water and soak them for a few minutes to loosen caked-on dirt.

Lubricate Chain & Gears: Apply lubricant directly onto the links of your bicycle’s chain while rotating the pedals backward slowly with one hand supporting its weight as not too much pressure should be applied when doing so (this might cause wear & tear). Then move on to lubing up other parts such as gears (front & rear derailleurs), corsets, etc., using specialized lubricants available online/at local shops according to the manufacturer’s instructions – if unsure please consult an expert/mechanic before attempting this task yourself.
Wipe Off Excess Lubricant: Wipe off excess lubricant from both sides of each link in order not only to help extend its life span but also to keep it running smoothly by removing dirt particles which can accumulate over time if left unchecked; do the same on other components previously lubed up too.
Inspect Bicycle Parts Regularly: It’s important to regularly check components such as brakes, shifters, suspension systems, etc., for signs of wear & tear; replace any worn-out parts immediately if needed; otherwise, they may fail during riding leading potentially dangerous situations like loss control/balance while riding downhill, etc.
Reassemble Chain & Other Components: Once all components have been inspected & cleaned/lubricated properly, reassemble them back into their respective positions according to their manufacturer’s instructions. Also be careful not to over tighten bolts, this could lead to future problems like getting stuck shifting gears due lack movement caused by too much pressure applied during reassembly process (which might need professional attention); after doing so inspect finished product making sure everything looks good before hitting trails again.
Inspect Tires Inflate Properly: Check tire treads for signs of wear, tears, cracks, punctures, etc.; then inflate them accordingly tyre’s recommended PSI level (this information should always be displayed inside the tire wall itself), being mindful not over inflating beyond what manufacturer recommends otherwise risk bursting tire soon after usage starts.
Test Ride Bicycle Before Hitting Trails Again: After the bicycle has been fully cleaned, lubed up reassembled properly, take some time to test ride it around a few laps, making sure it responds well, shifts smoothly, brakes effectively without squeaking noises coming out anywhere else which would indicate something wrong somewhere else needing professional attention right away.
Store Bicycle Correctly When Not Using It: When done using a bicycle, always store it correctly, either indoors garage, shed, basement whatever place chosen to make sure the place is dry dusty free otherwise, rust corrosion may occur over time damaging frame other components leading costly repair bills down track; best way avoids these scenarios always keep bikes clean dry covered even when stored away.
Add Protective Layer to Frame If Needed: Depending on the environmental conditions where bicycles are usually ridden, add a protective layer of a paint sealant to protect the frame against moisture, humidity, dust, and salt air corrosion, especially in coastal areas where salty air frequently present add extra layer protection against those elements extending lifespan even further.
Clean the Drivetrain: The most important thing to remember when cleaning your mountain bike drivetrain is to use lubricant on all the moving parts. Use the soft-bristled brush to get into places like the jockey wheels and chain links, then use a degreaser to remove any stubborn dirt build-up.
Clean the Wheels: You don’t need to be a master wheel builder to give your mountain bike wheels a good wash. Use the soft brush to scrub away any dirt or brake dust, taking extra care with the spokes. Finally, rinse off the wheels with clean water and dry them thoroughly.
Polish Your Ride: After your mountain bike cleaning is done, you’ll want to polish your frame. This will not only help it look fantastic, but it will also protect it from the elements. Take care to avoid moving parts when applying the polish, and don’t forget to buff off any excess.
Put It All Back Together: Now it’s time to put your mountain bike back together after cleaning your mountain bike. Start by attaching the wheels, making sure they are secure and properly aligned. Next, attach any accessories like bottle cages and lights. Then, reconnect the cables and shifters. Now you can adjust any settings before taking it for a spin! Your mountain bike is now ready to conquer all kinds of terrain.
Enjoy Riding: Most importantly, enjoy every moment spent cycling mountains, trails, city streets, or whatever terrain you choose; never forget why you started doing this hobby begin with – having fun, relaxing, taking breaks from everyday stress life brings us now then.
Conclusion
Cleaning mountain bikes isn’t always the most glamorous of tasks, but keeping your mountain bike running smoothly is essential. You can ensure your mountain bike is always in top condition with just a few simple steps and minimal equipment. Don’t forget to use a good degreaser product, apply mountain bike lube, clean mountain bike tires and rims, inflate the tires, and wipe down the frame components. Taking good care of your mountain bike will ensure you get many years of joy out of your cycling adventures.
So, what are you waiting for? Let’s get started on mountain bike cleaning! With our guide, you’ll soon be back in the saddle and ready to hit the trails. Happy mountain biking!
**Bonus notes: Cleaning Mountain bikes is important to ensure that they’re safe to ride and helps maintain their value. Regular mountain bike cleaning is one of the best investments you can make in your mountain bike, so be sure to do it regularly to keep your mountain bike always in top condition! **
It doesn’t matter whether you’re a hardcore mountain biker or just an occasional enthusiast – mountain bike cleaning should become part of your routine.